Documentation Index
Fetch the complete documentation index at: https://docs.get-nexus.app/llms.txt
Use this file to discover all available pages before exploring further.
Create a VM instance
Create a VM instance with the appropriate resources. For this guide,
we will use the recommended 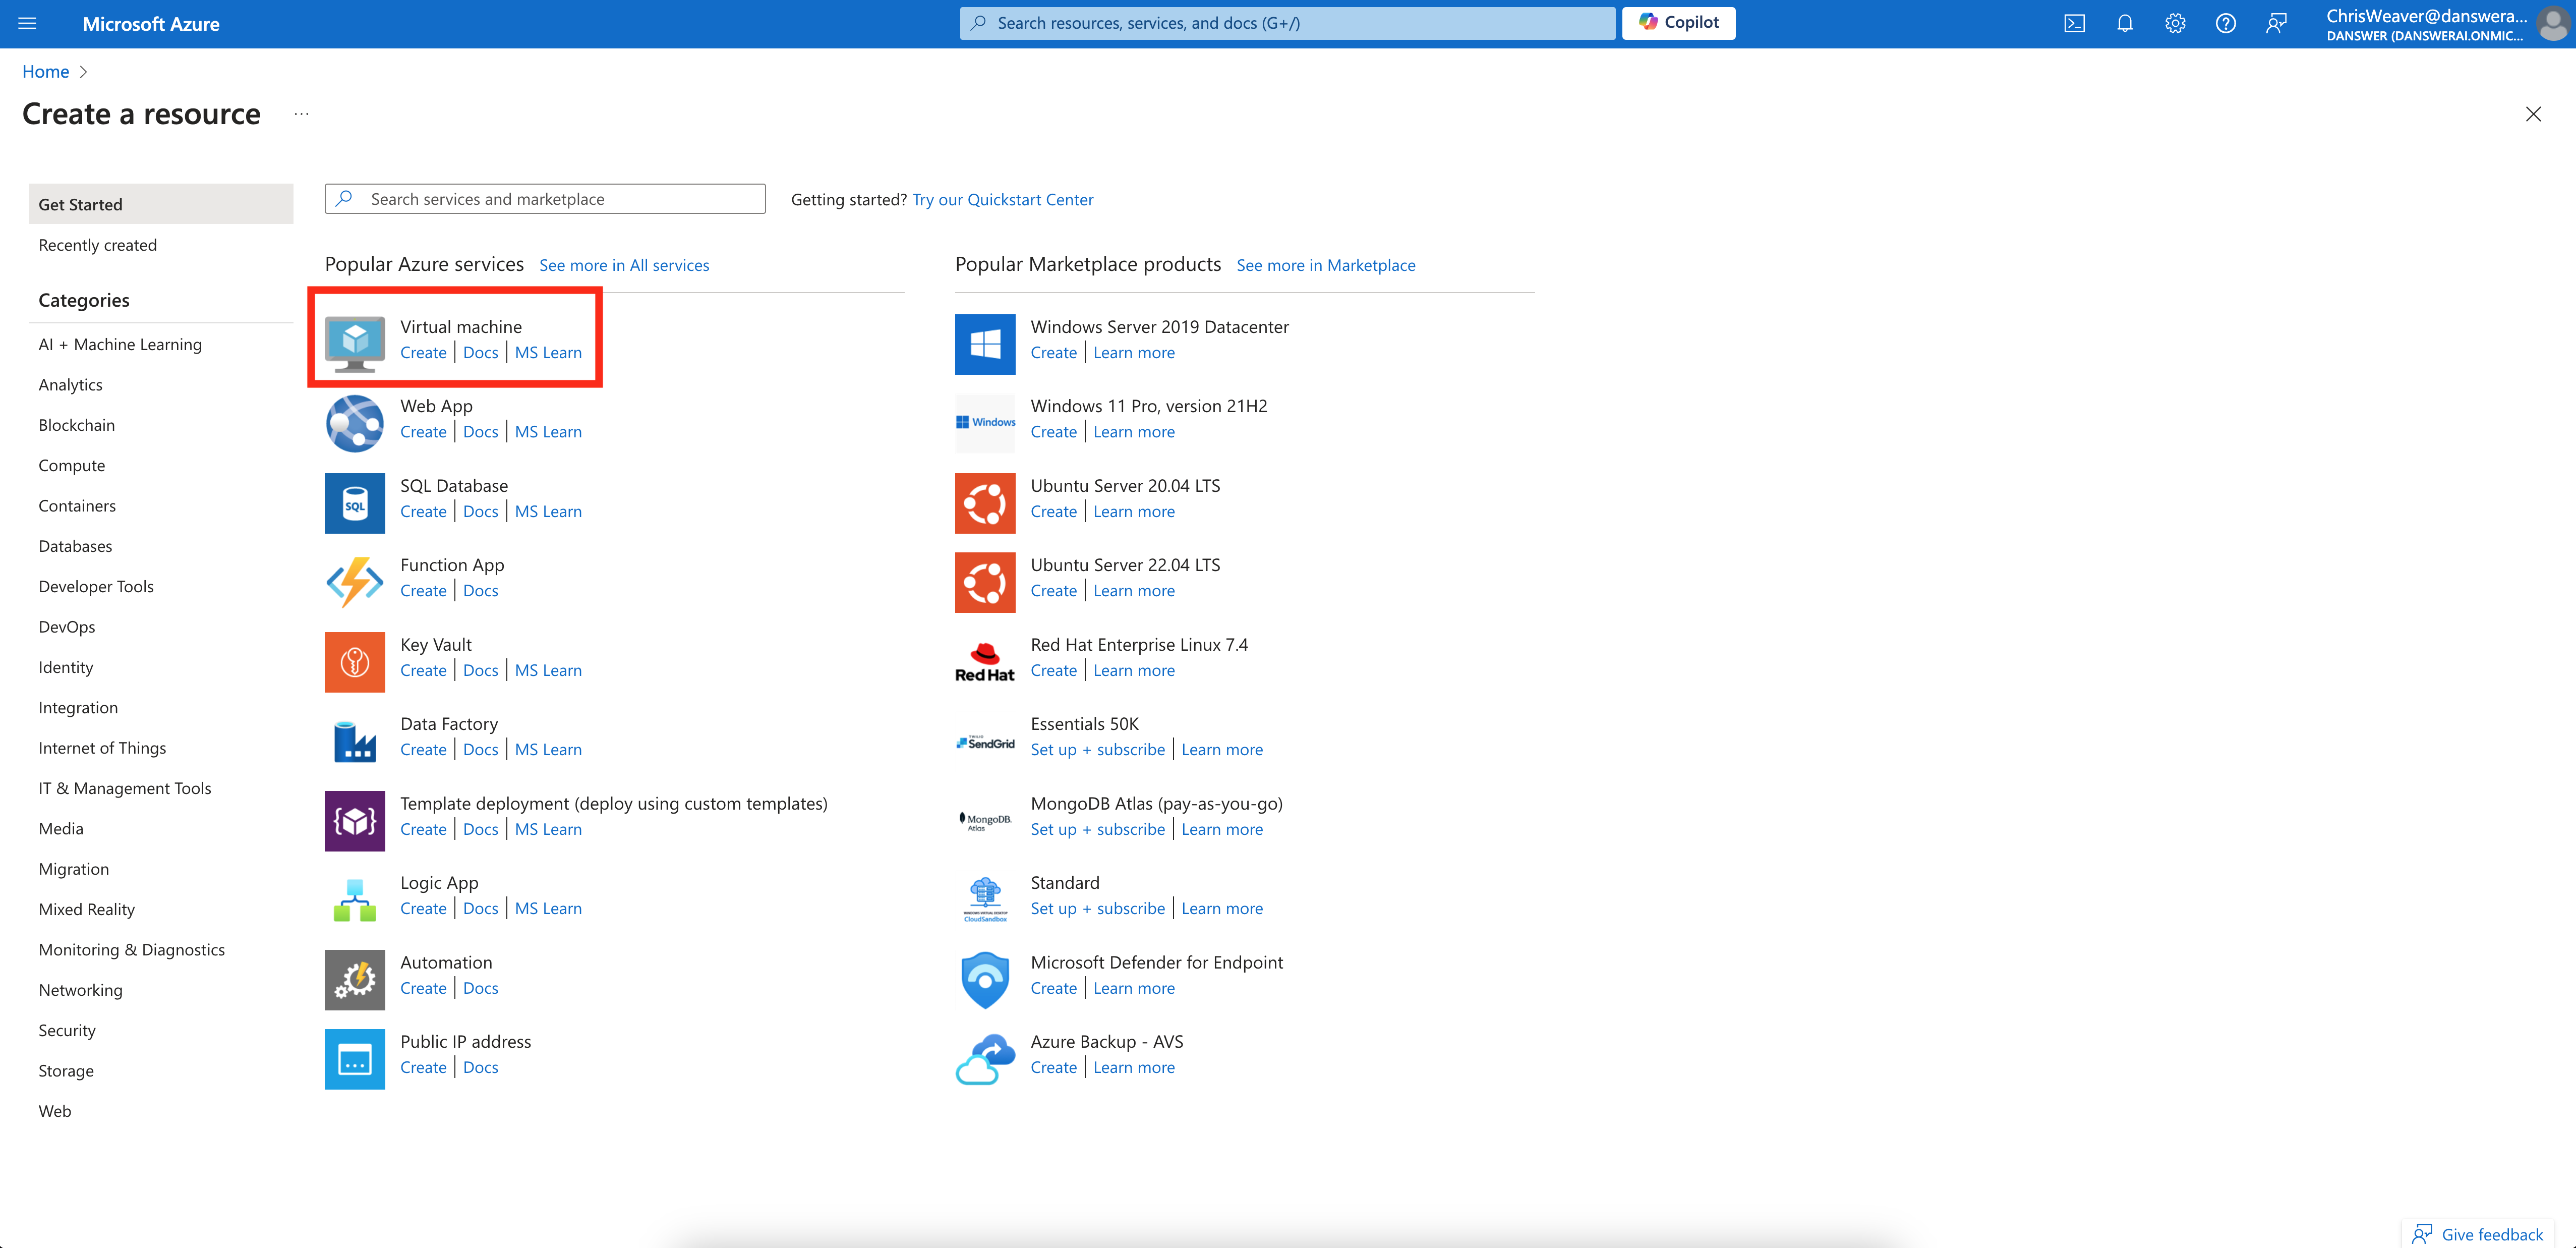
Standard_D4s_v3 instance.Read our Resourcing guide for more details.
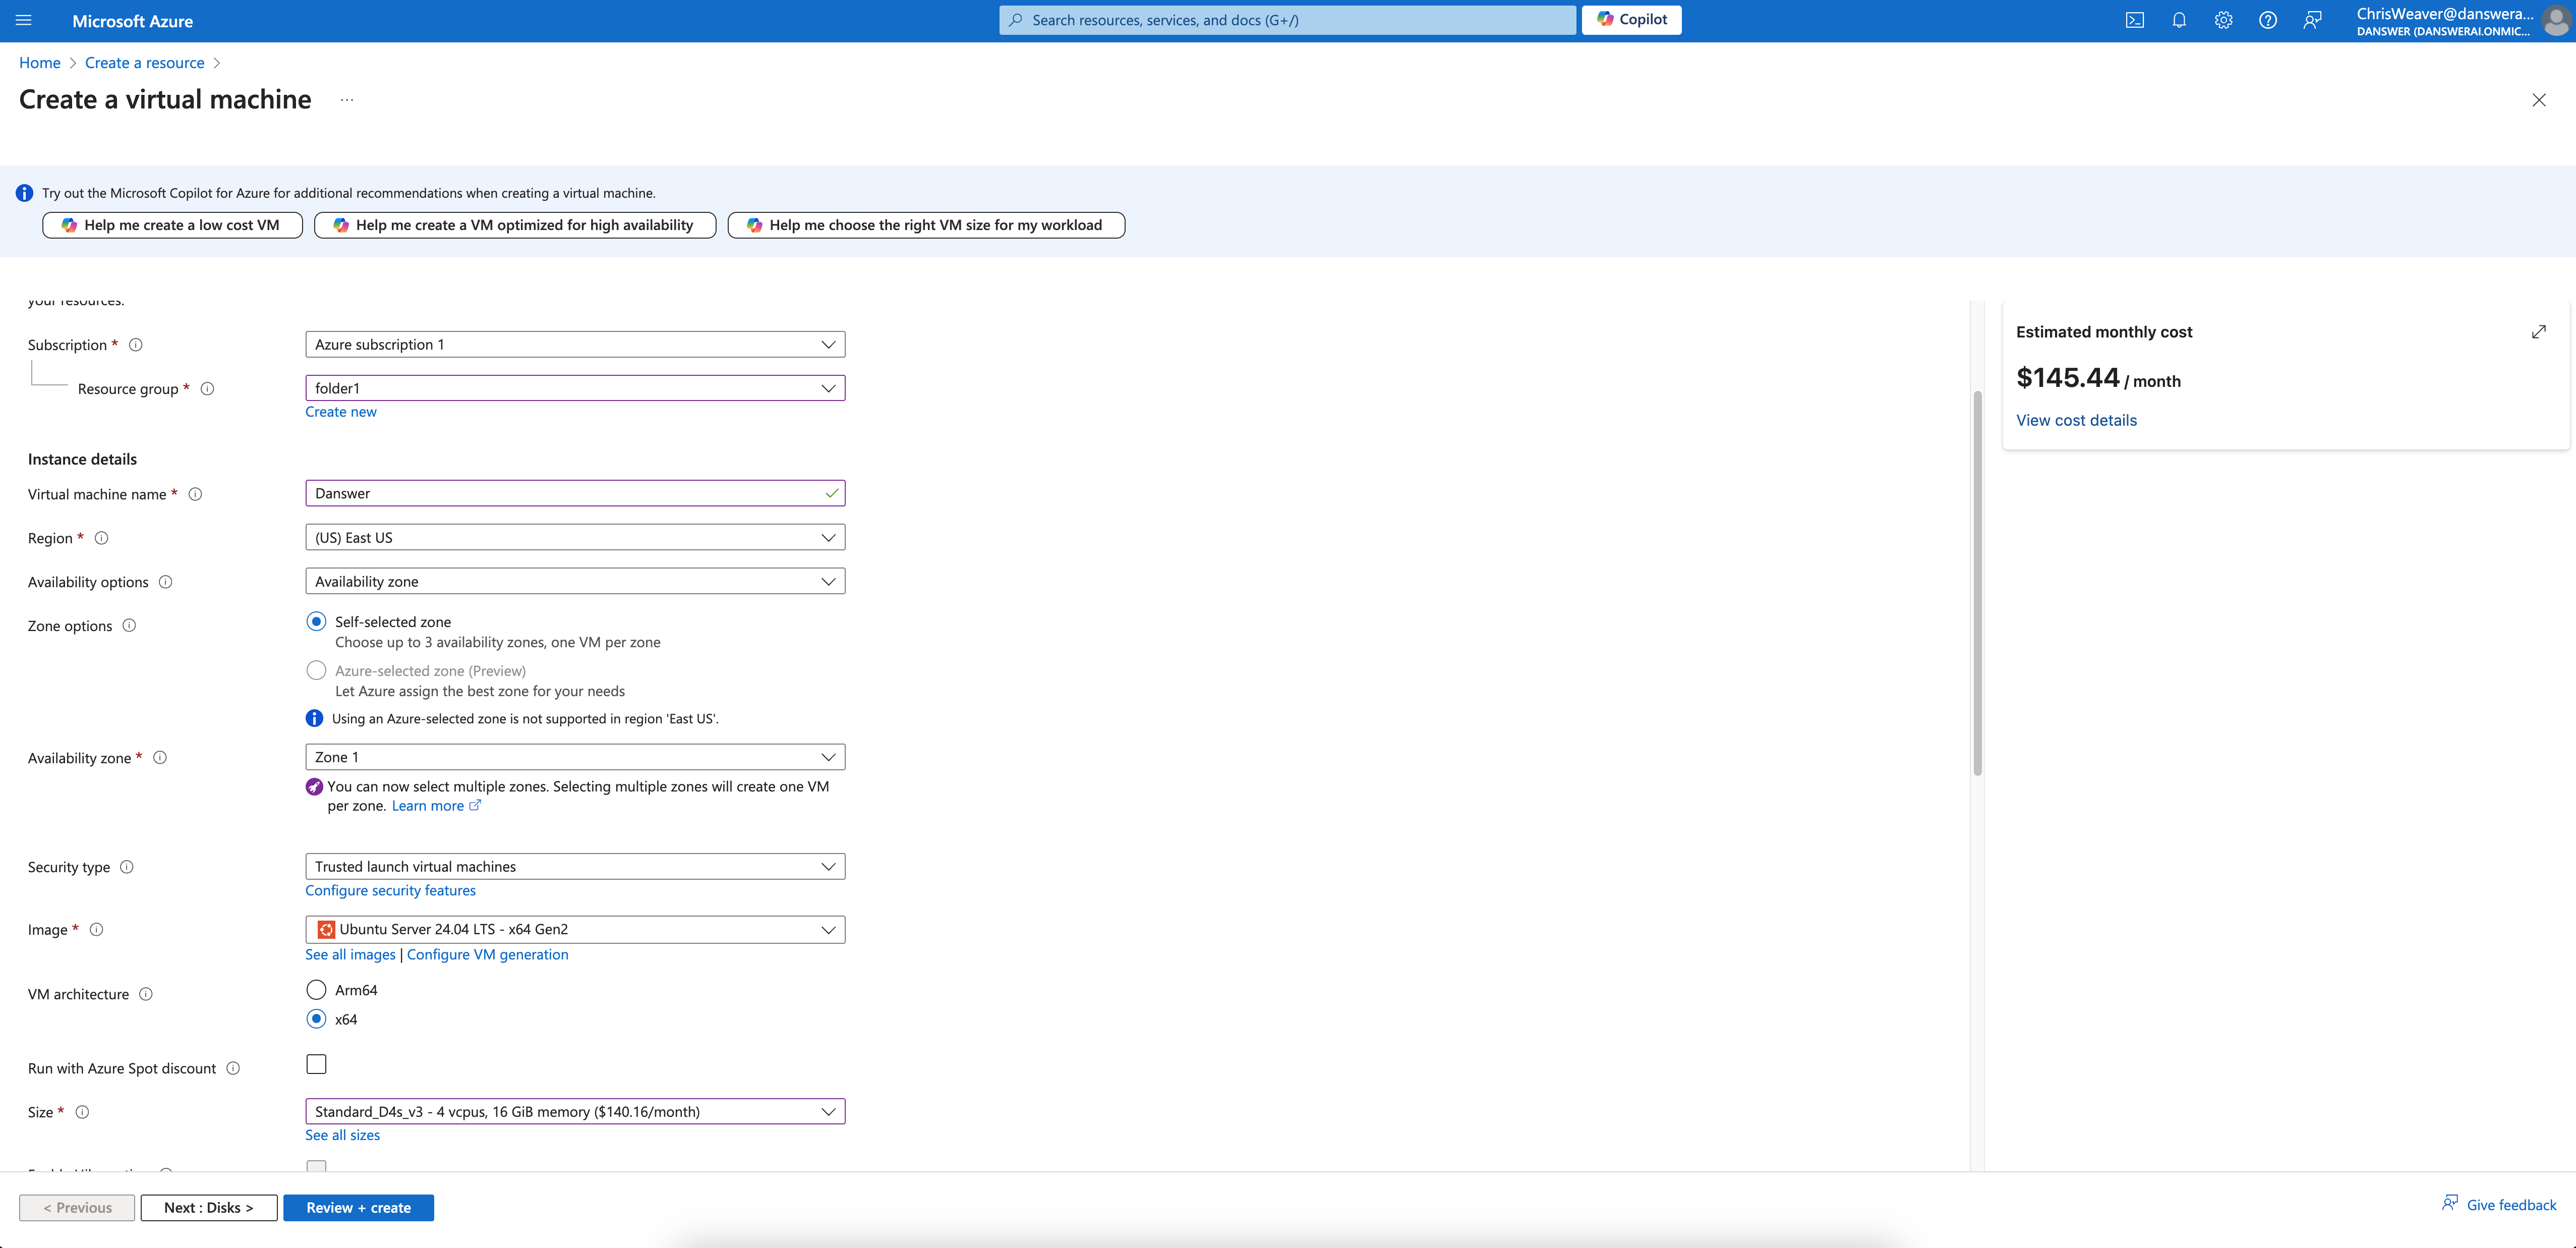
- Give your instance a descriptive name like
Nexus-prod - Select the
Ubuntu Server 20.04 LTSimage - Select the
Standard_D4s_v3size - Select
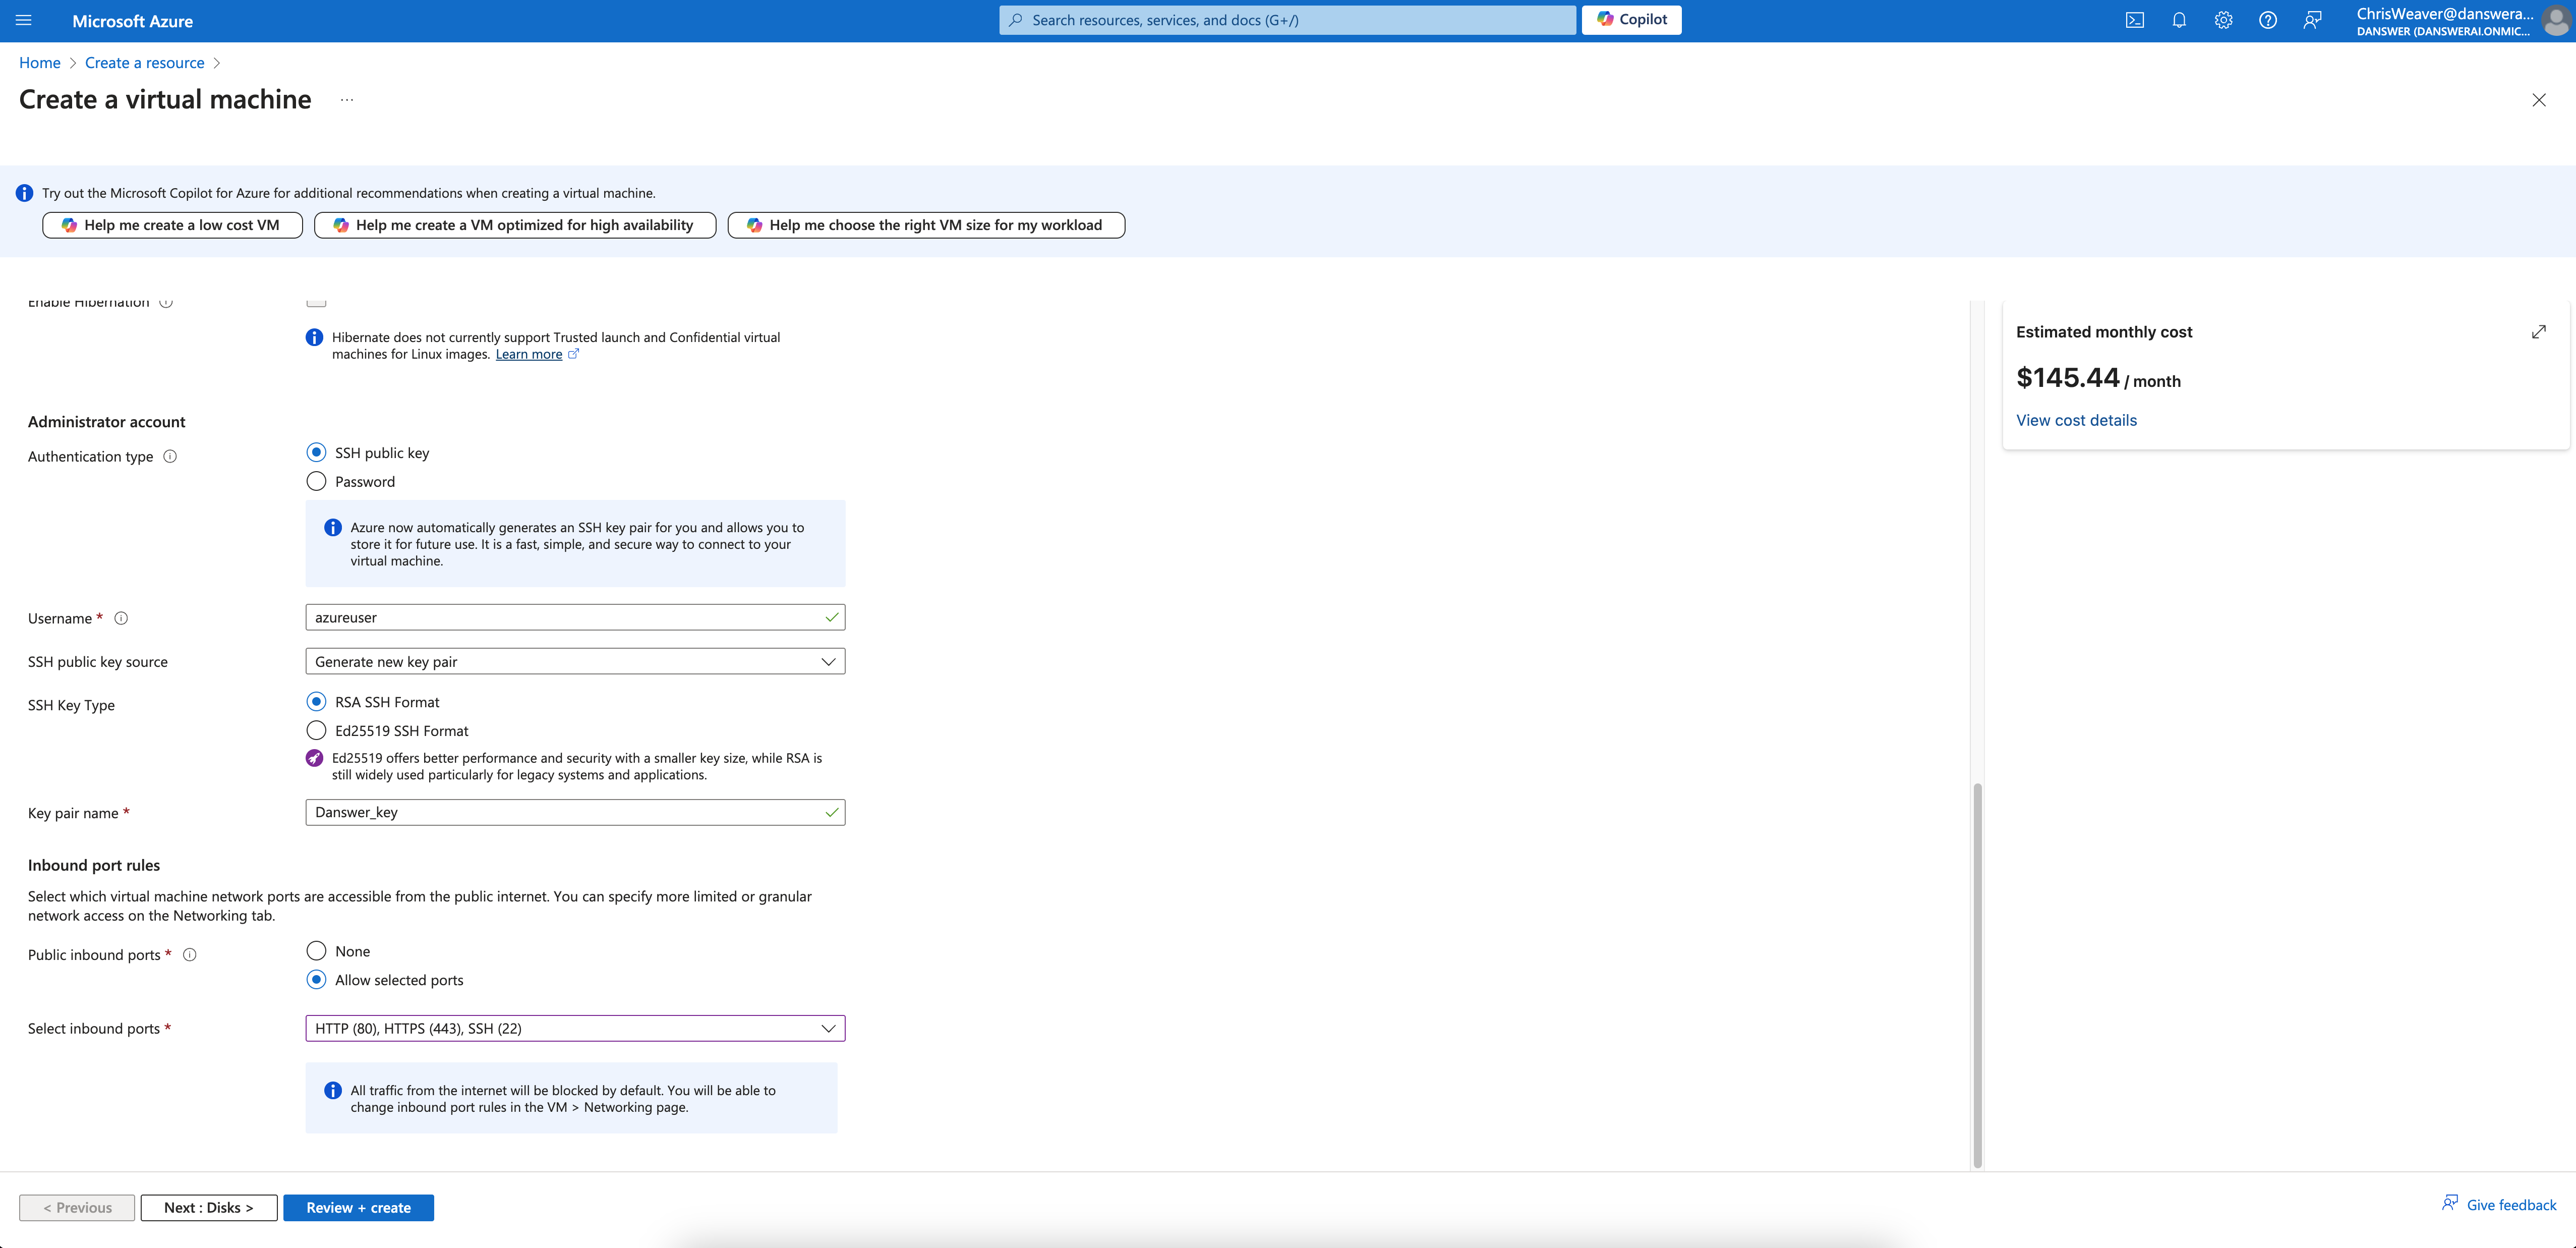
Allow selected portsand checkHTTPS (443)in the Inbound port rules section - Configure storage following the Resourcing Guide
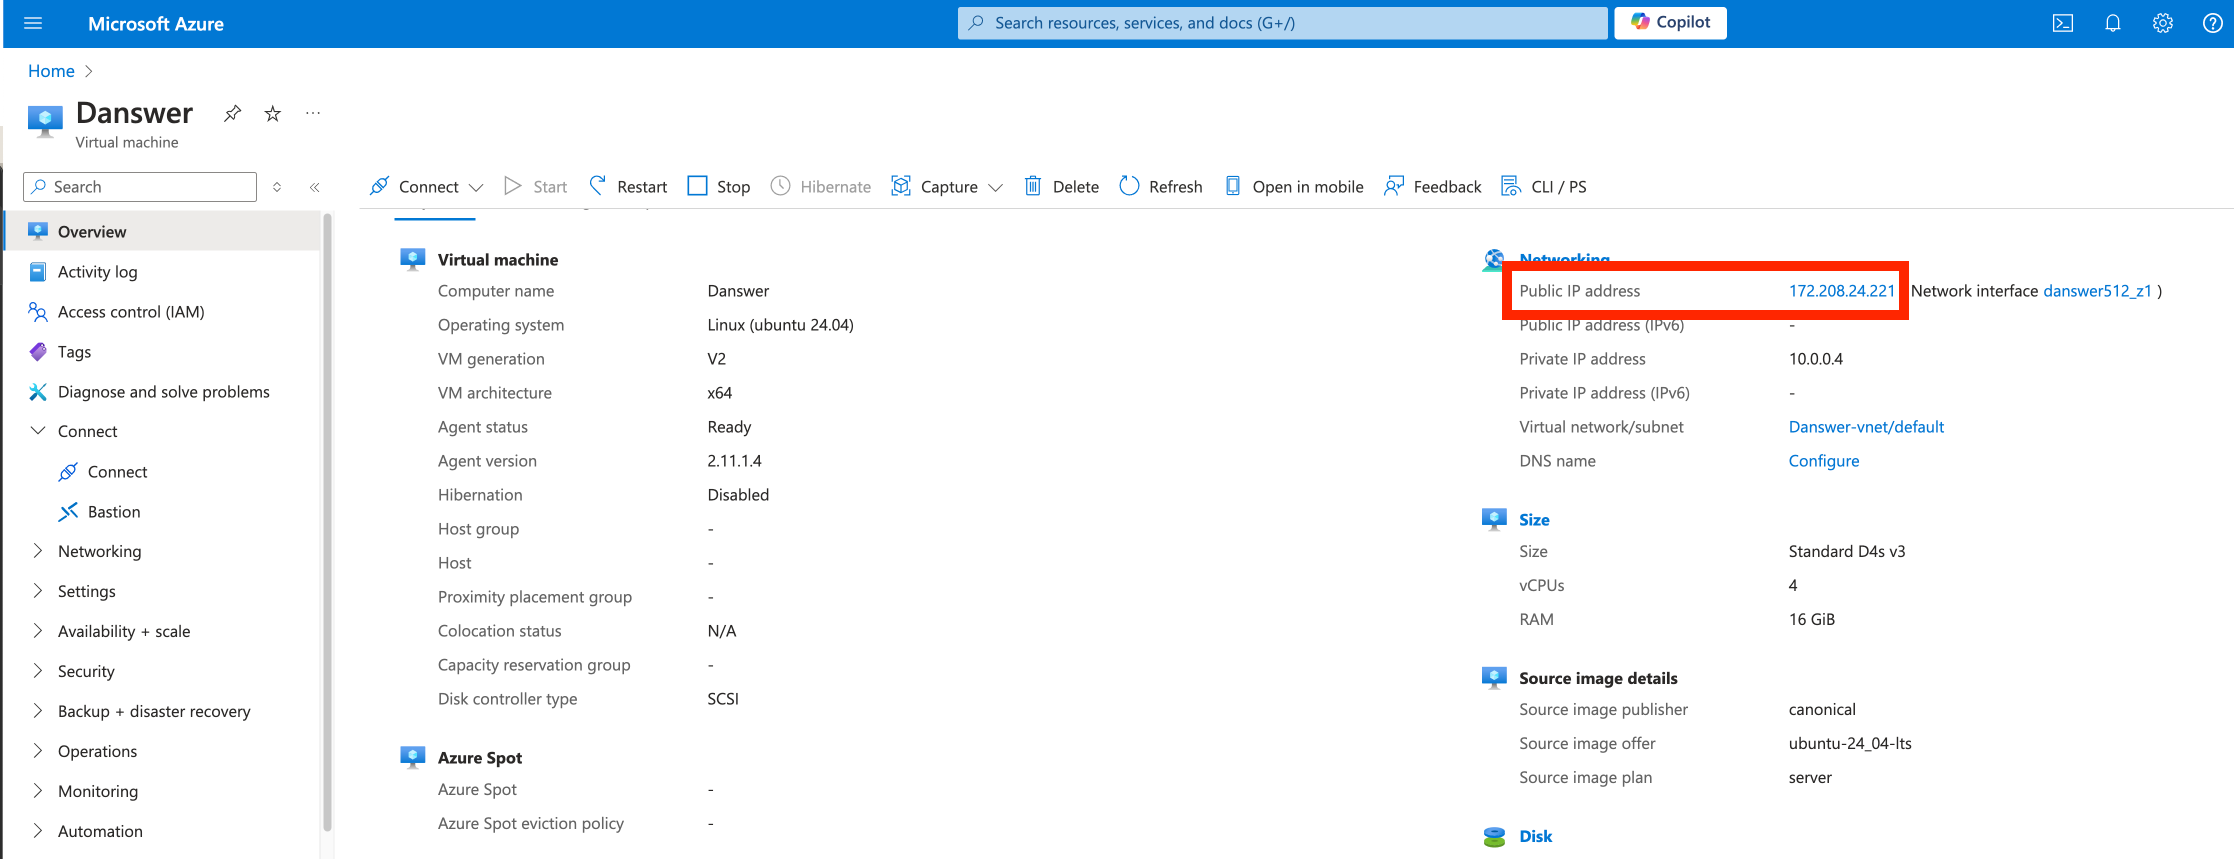
Point domain to the instance
If you don’t have a domain, buy one from a DNS provider like GoDaddy
or just skip HTTPS for now.
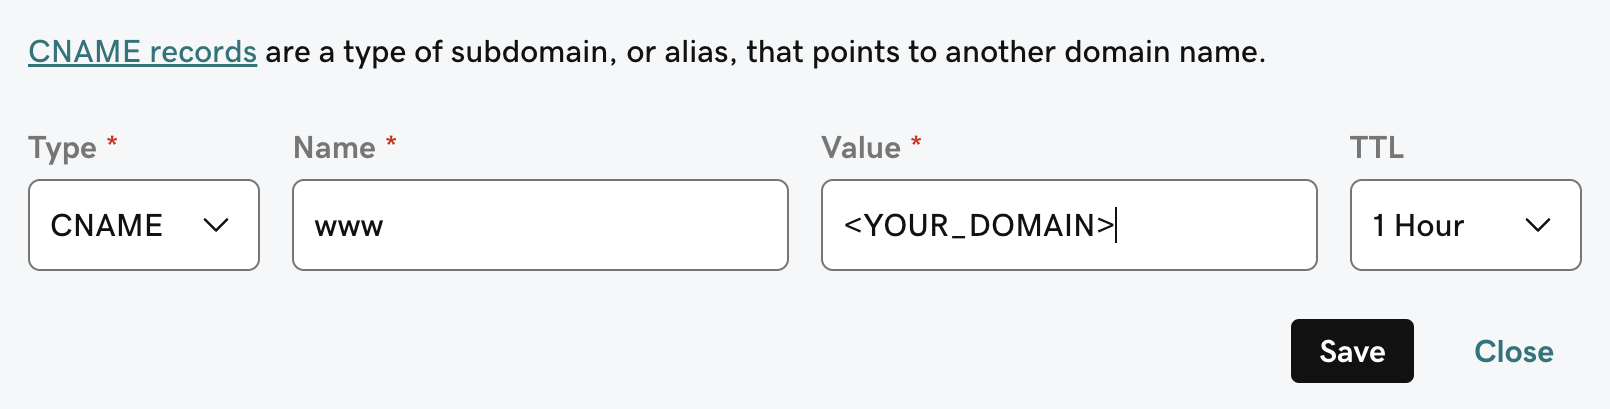
A and CNAME record to our DNS provider.The A record should be the subdomain that you would like to use for the Nexus instance like prod.The CNAME record should be the same name with the www. in front resulting in www.prod pointing to the full
domain like prod.Nexus.app.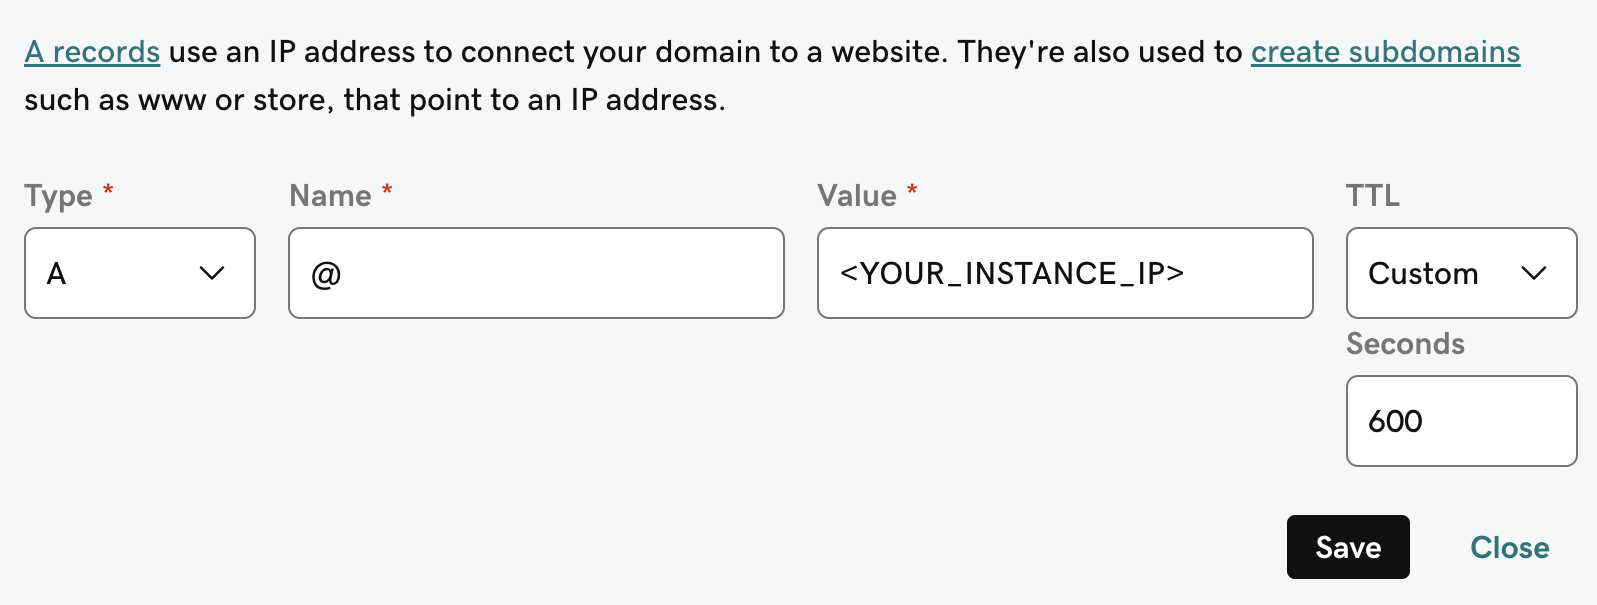
Next Steps
Configure Authentication
Set up authentication for your Nexus deployment with OAuth, OIDC, or SAML.
More Nexus Configuration Options
Learn about all available configuration options for your Nexus deployment.